
Free pattern for a basic strapless dress that can be made any length.
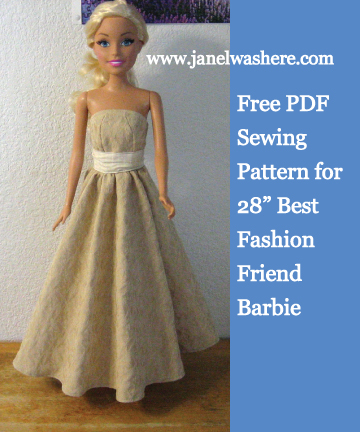
Note this is for the LARGE 28-inch Barbie doll, not the regular size 11.5″ ones. Those patterns are elsewhere.
Download and print the PDF pattern here — FREE for personal use
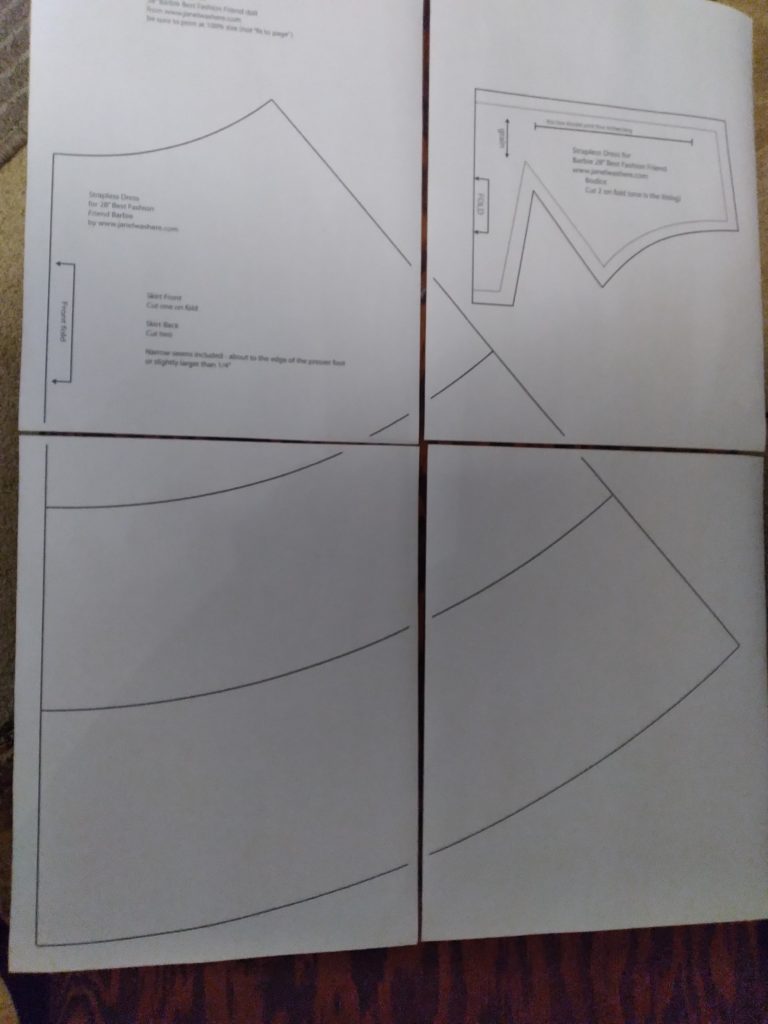
Lay out the pages like this. Butt the edges of the paper up to each other but don’t overlap, and tape them. Then cut out. Scant 1/4″ seams included. “Scant” means just barely 1/4″, exactly but no more.
Instructions for Sewing
Cut two bodice pieces. One can be the fabric and one white for the lining.
Cut one skirt piece on the fold for the front and two pieces separately for the back.
The shorter lines are for shorter skirt lengths. When I get around to testing those I’ll post a picture or you can always send me one.
Lay the two bodice pieces right sides together and stitch up the back, along the top and down the other side. Clip the corners right up to the stitching.

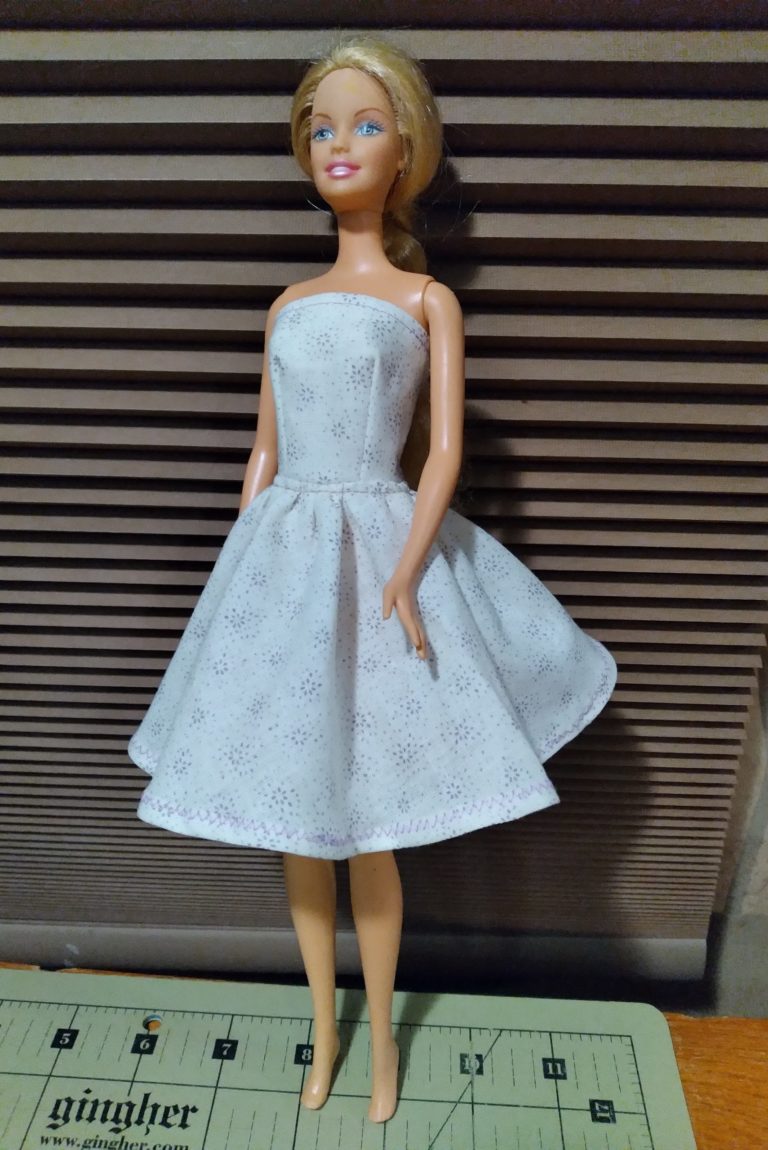
(In the first test I used same fabric for the lining; the later test has a white lining.)
Turn right side out.
This little white doohickey that I use often but have forgotten the name of works great for poking out the corners.

It’s nice to iron it at this point.
Stitch up the darts taking care to make both of them the same height. I included a seam allowance of 1/4 inch, or a bit less than half the width of a presser foot, so what I do is start at the bottom of the dart and try to sew up really straight until it runs off the fabric.

Bodice is done.

Sew the skirt side seams together, then fold over and zigzag the back edges. That’s because I’m still in fast-and-easy doll clothes mode. Or do it some better-looking, more professional way.

Arrange the gathers so the skirt is the same width as the bottom of the bodice.

In that picture I had too much fullness in front and not enough on the sides. Try to make it more even.

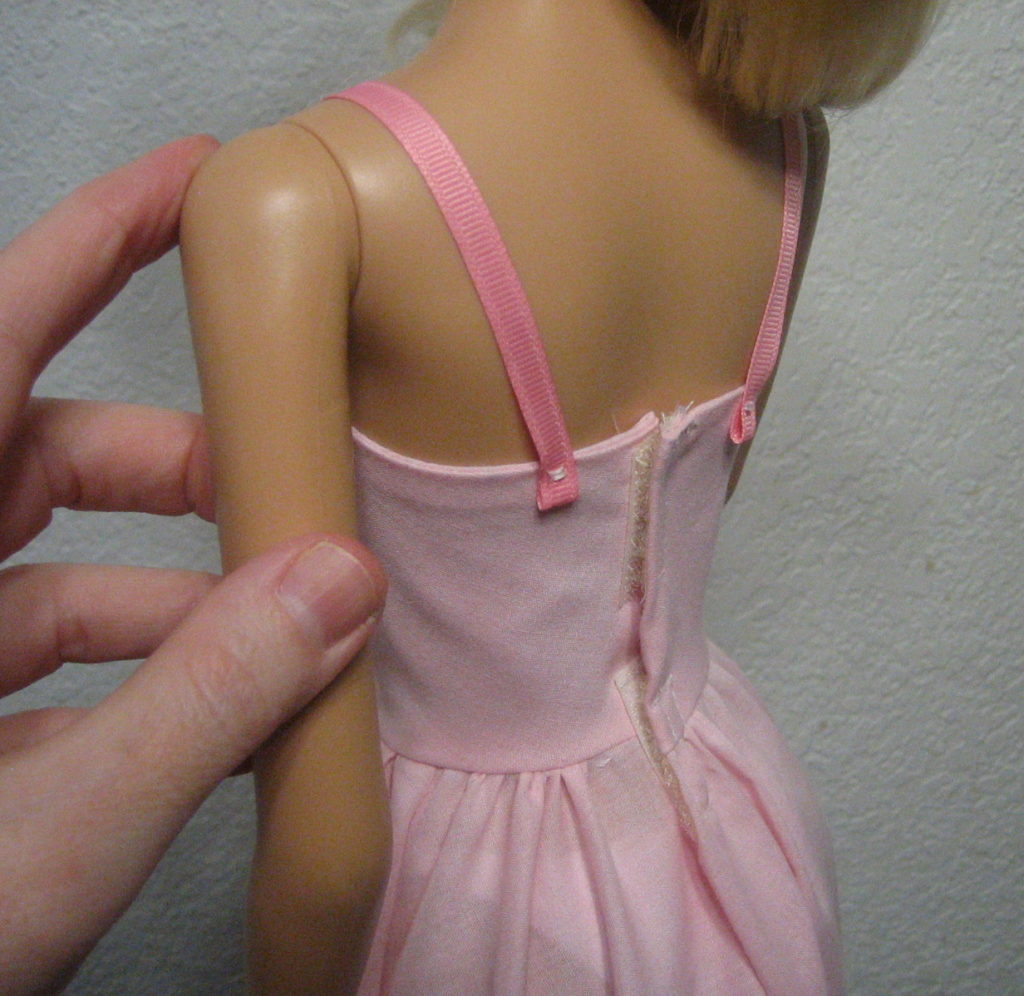
Stitch on some Velcro or snaps.

Try it on the doll and pin below her butt, making sure the skirt is hanging right and that there’s enough room to get her out.
Carry it to the sewing machine and put the needle down through that point before removing the pin, then smooth the back of the skirt down from there and stitch down that seam to the bottom.


Again that’s not the “right” way but I’ve tried adding tabs like the commercial patterns so many times but they just never seem to come out right for me and the skirt ends up hanging all stupid or with puckers in it. So now I get the whole thing formed and on the doll, THEN finalize the back of the skirt.
If you are one of those grandmas trying to sew a dress for a doll you don’t have (this is not a good idea) then just leave the back of the skirt open all the way down, with a couple pieces of Velcro at thigh and knee level.
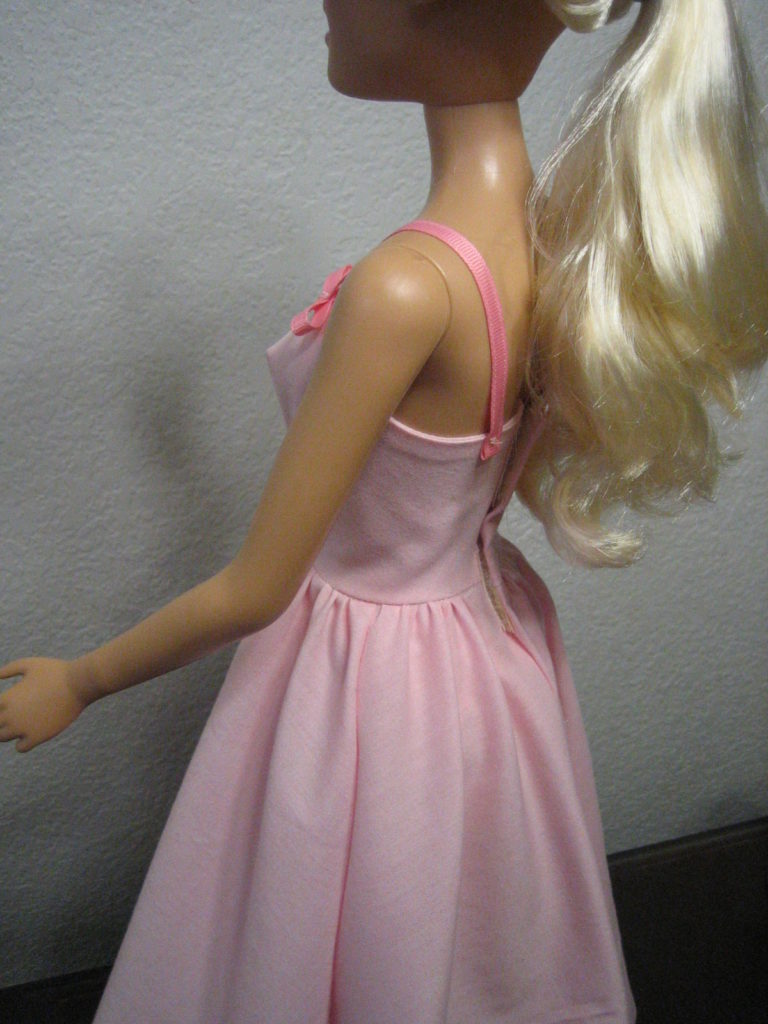
And then put a hem.
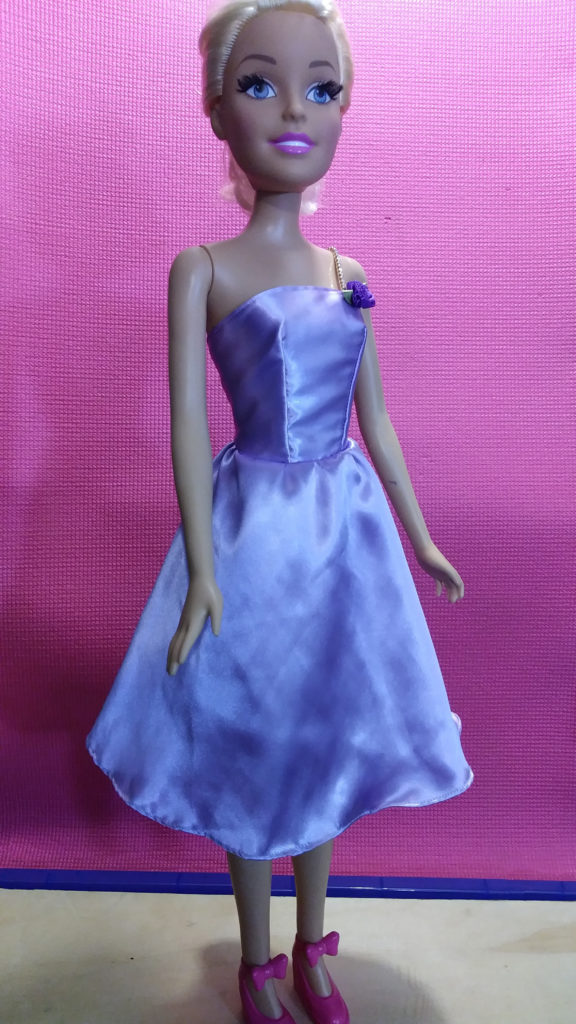
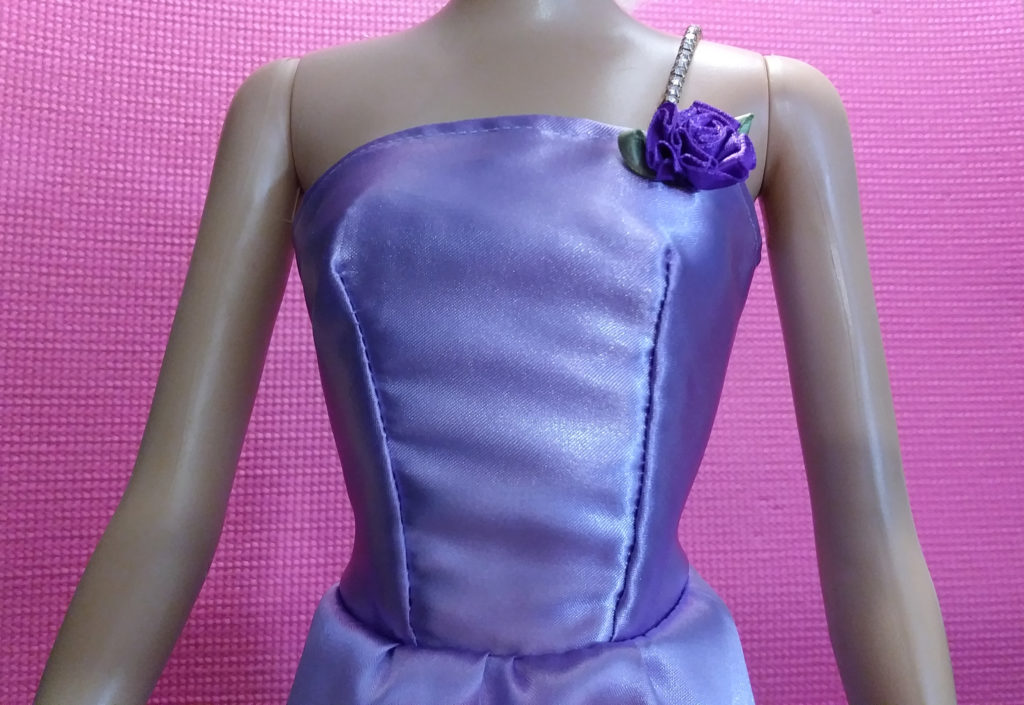
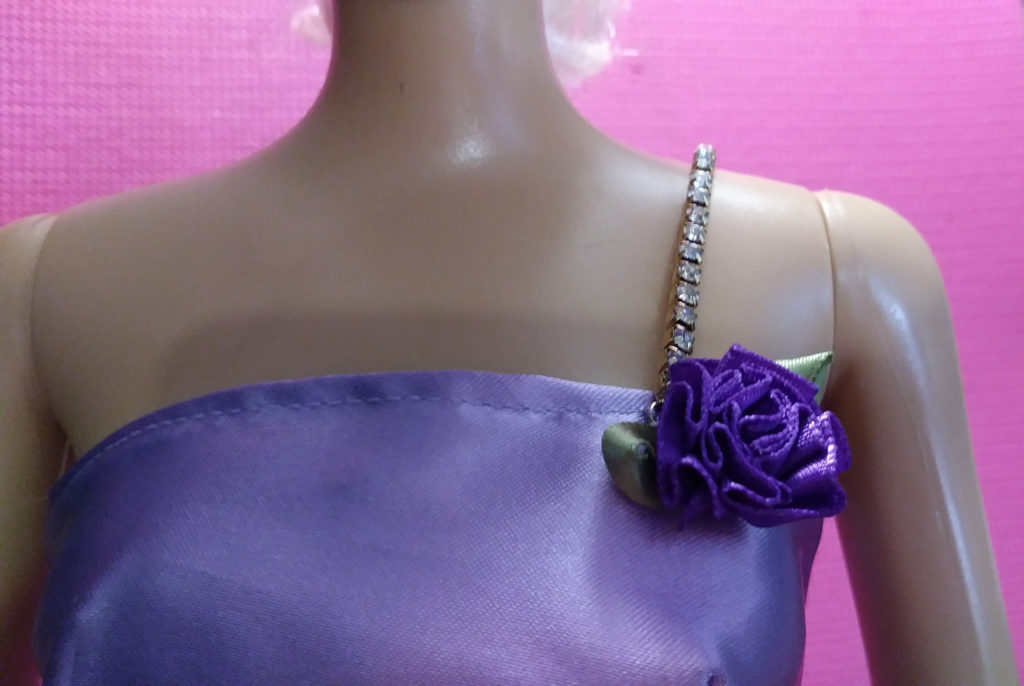
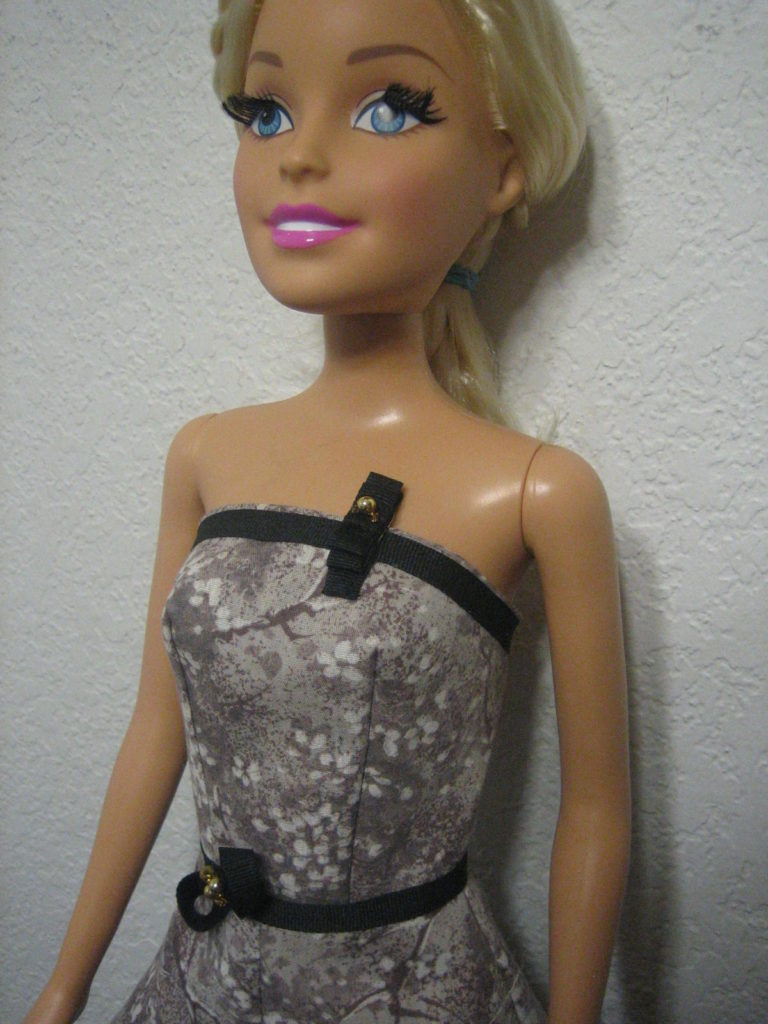
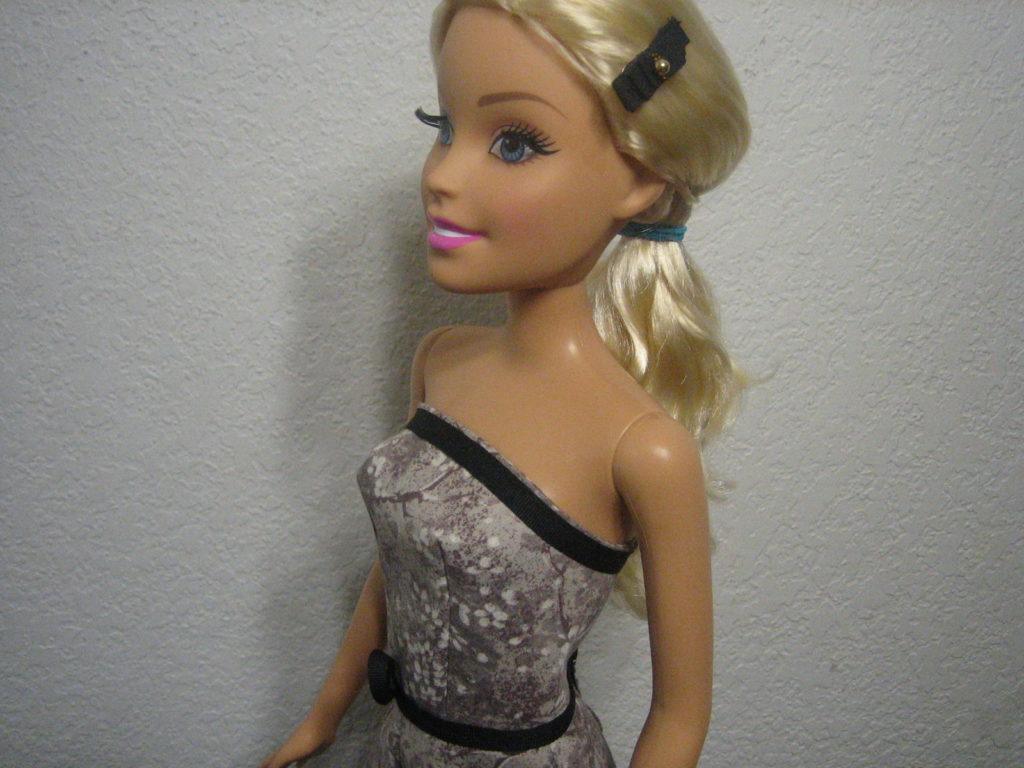

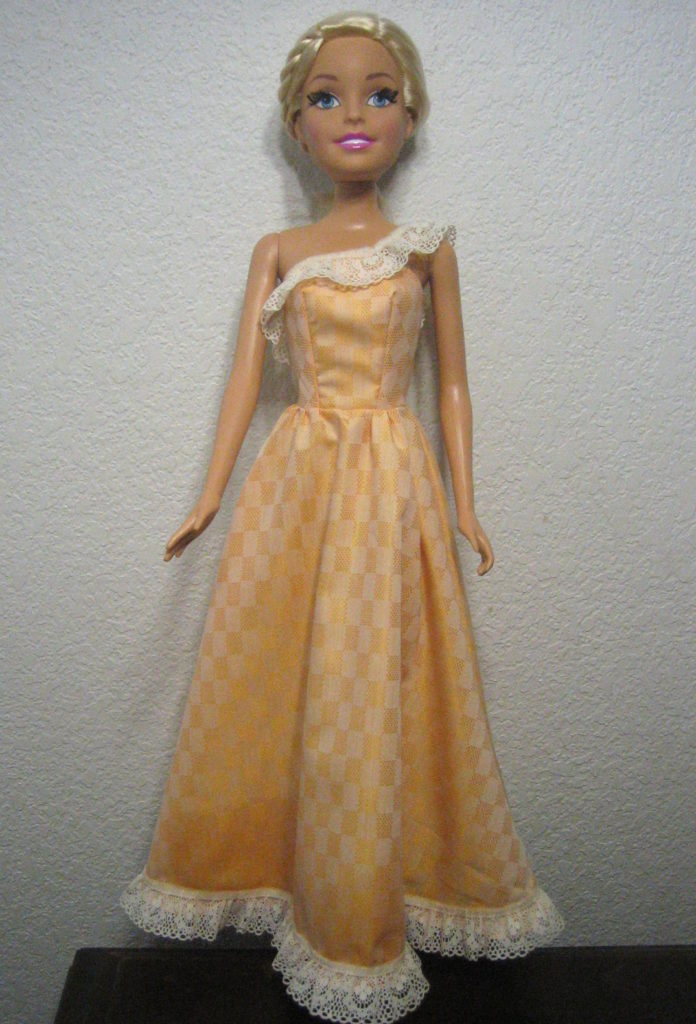
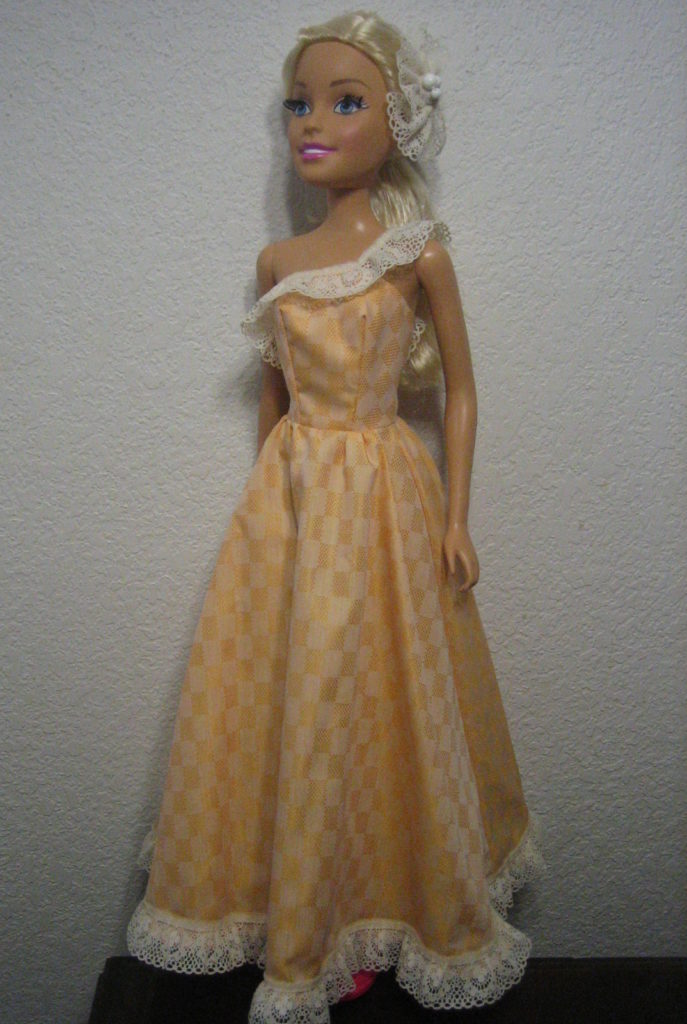
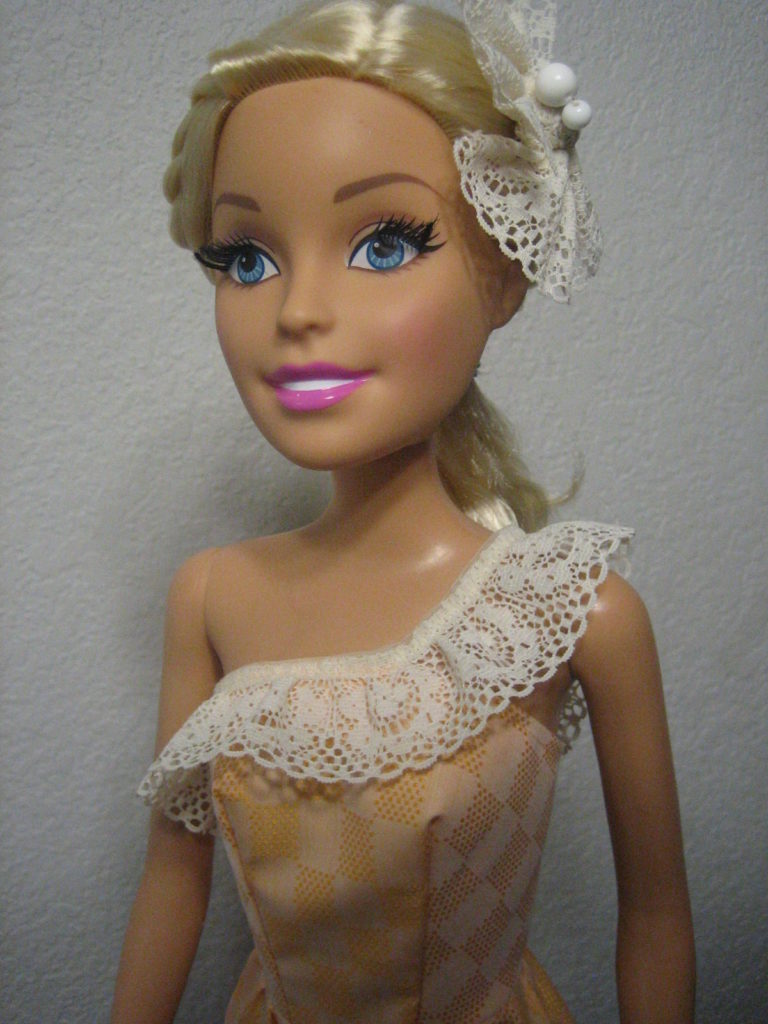

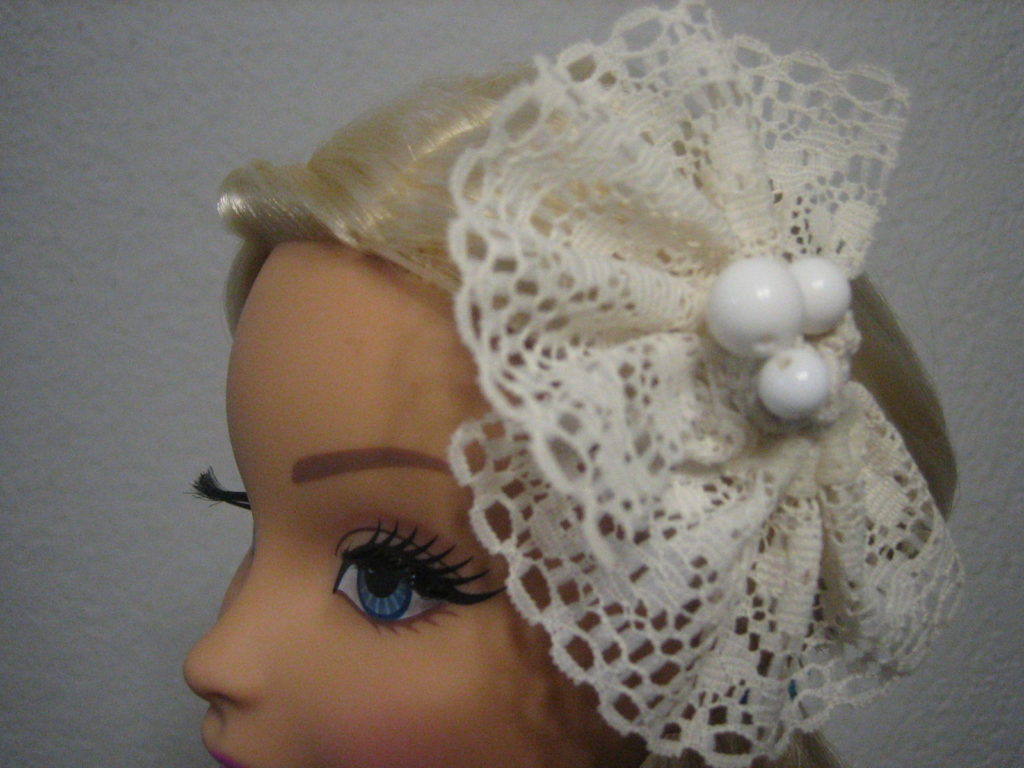

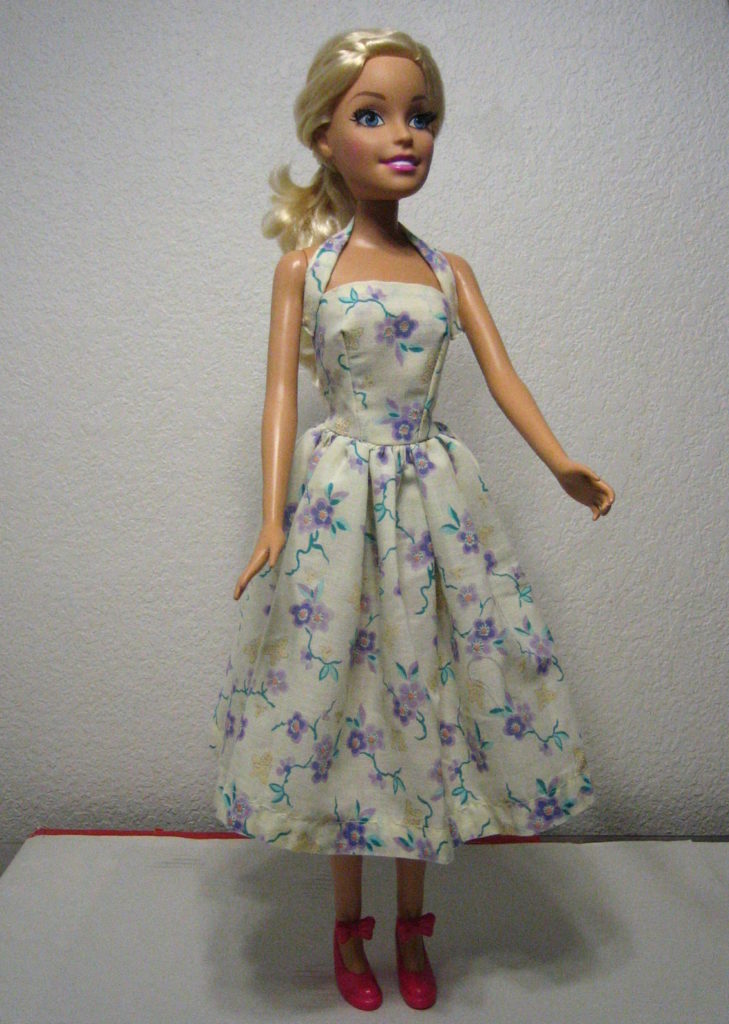
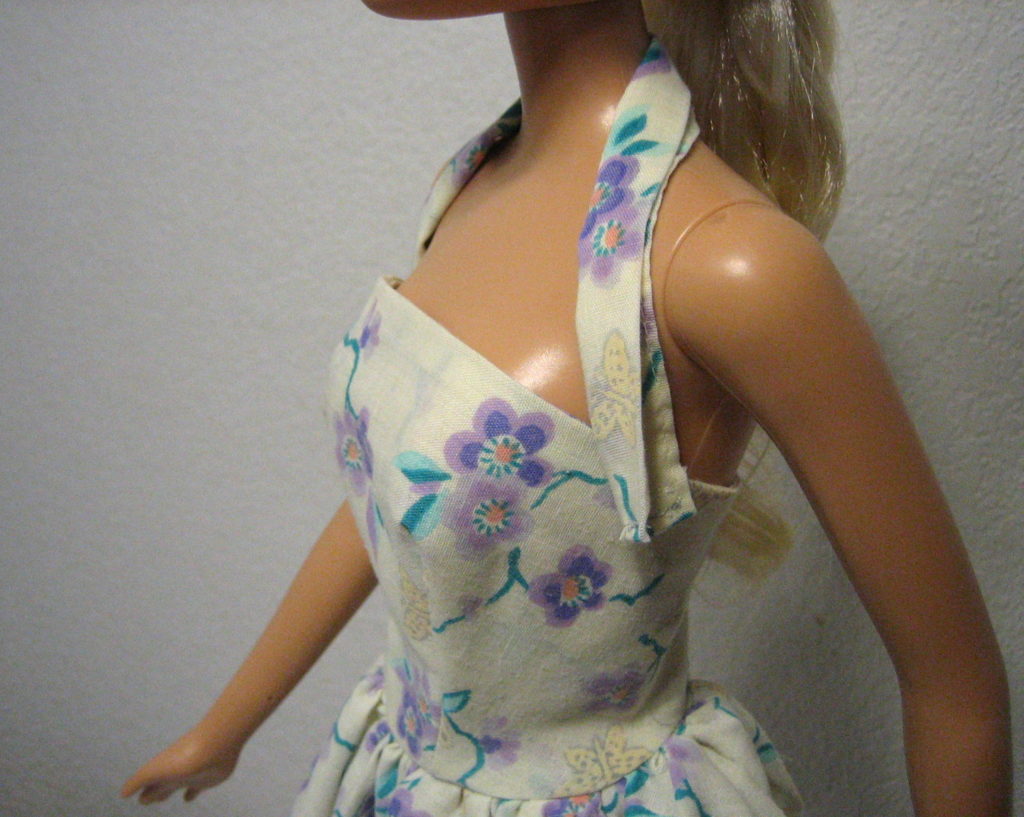
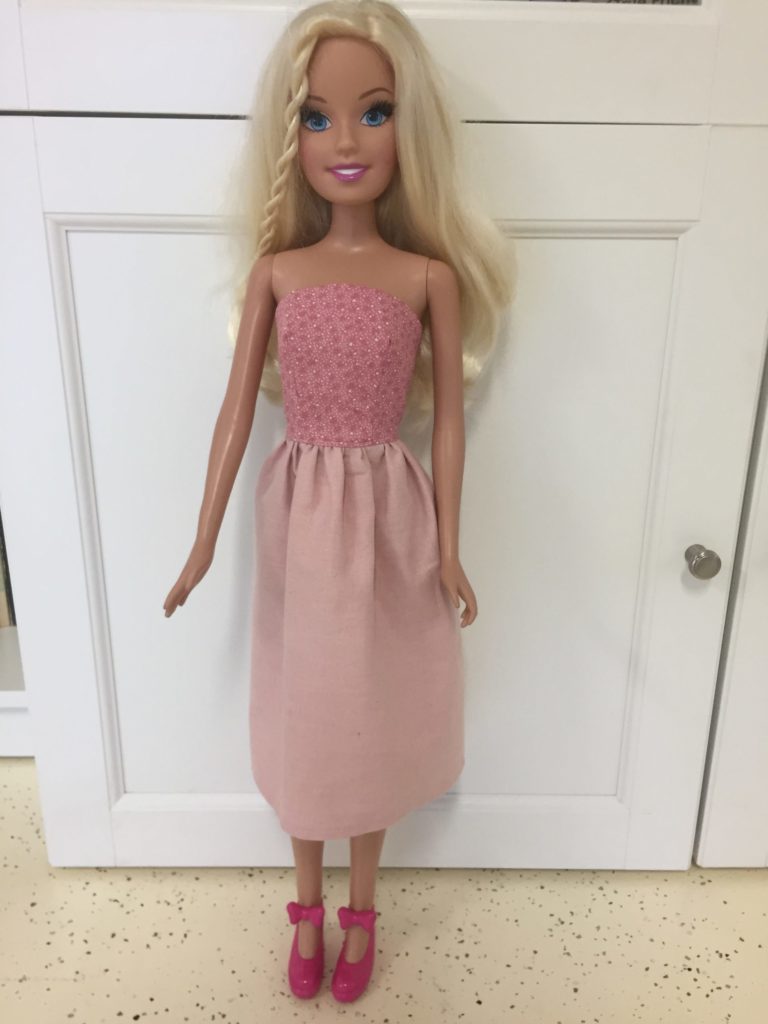
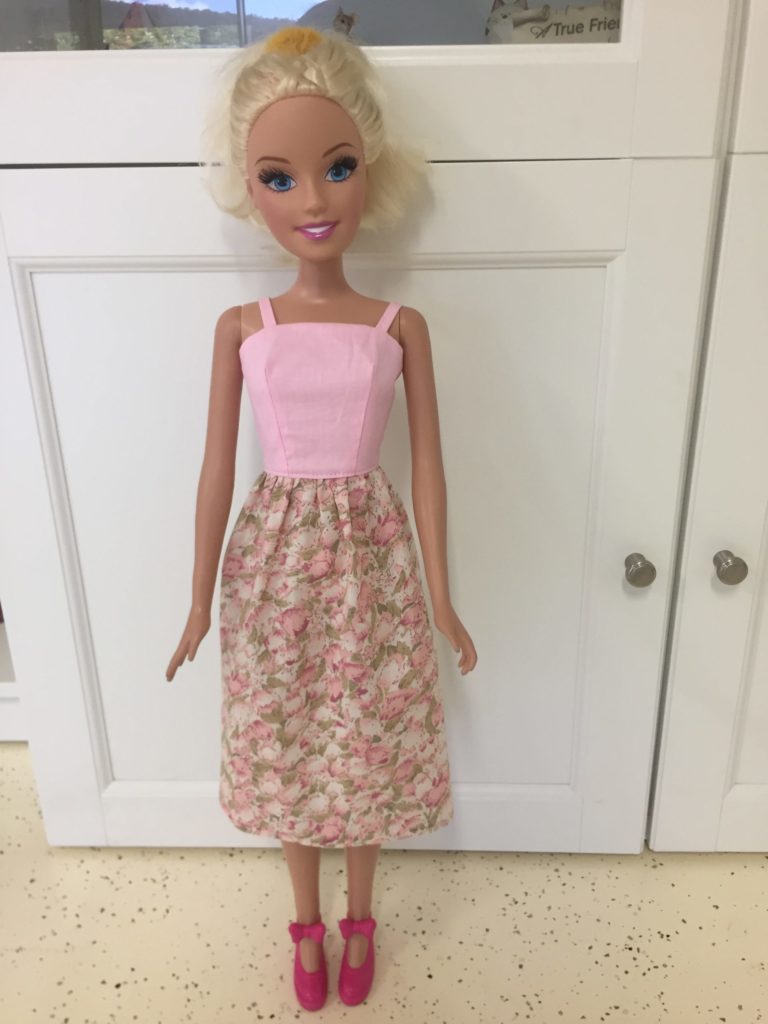
And here are some beautiful photos shared by Marisa Goodwin on a comment on the Feedback page. I lost the attachments last time I shredded this site while trying to fix a problem (sigh) – but then found them again and I think this is really the best place for these photos. Thank you so much, Marisa!

THANK YOU! Thank you!! Thank you!!! I am a beginner sewer, my daughter has this doll and we can’t find outfits anywhere. I had no idea how I was going to make “new clothes” for her. This is so unbelievably helpful!
I cracked up on “grandma sewing for a doll you don’t have “! That’s me – and I always end up having to make over. Finally bought my own Barbie and borrowed an American Girl from a friend whose girls were too old to play, but couldn’t part with their memories. Pattern is great and very flexible for other styles. Thanks so much. I also gathered some tulle strips for the skirt and added a sparkly belt.
This dress is beautifully crafted! I however, do not have this size of a doll. I’m trying to master clothes for the 1.6 Barbie and Newer sized Skipper.
How would I modify this pattern for 1.6 Barbie?
You mean the regular size Barbie? Well I have the strapless bodice for that. Here, I can only link to my old page which sadly needs some work that I’ve been meaning to do for years now (but I’m getting close, I really am) At least the basic bodice shape is there if you can fake the rest.
https://www.janelwashere.com/crafts/barbie_strapless.html
Thank you so so much for sharing your awesome work and pattern with everyone. I’m a beginner at sewing and have two little girls with tons of Barbies that need new cute dresses. This is so helpful. Thank you again.
Thanks so much. Clothes or patterns are hard to find for the 28 inch doll.
Glad it worked out for you!
Do I just butt the pages together and tape for the pattern? Or do I fold paper to edge of marked lines and tape?
Just butt the pages together. Good question. I should clarify that on the printout.
That is really, really kind of you to share. We can’t get these sorts of dolls way down here in NZ unless we go online and I’ve just discovered this type of doll whilst browsing around. I’ve picked one up for a small fortune on eBay. More to send it that to purchase it 🙂 :-)Discovering your pattern here has really made my day and I can’t wait for my little ” American” girlfriend to arrive.
Maururu mo to atawhai
Very kind of you to write! There are some new patterns coming soon.
I’m looking for a pants pattern and a top pattern for the 28 in Barbie dolls. Can you help me? Thanks Jan
I don’t have any like that but I saw some shorts on Chelly Wood. Maybe you could just make them longer?
Thank you for the lovely patterns! I made the bodice for the 28 inch Barbie dress and almost cried when it was too small for my doll. I rechecked the doll and it turns out she is 32 inches! (Rapunzel). I did a little math, resized the pattern by 140% and tried again. It worked out almost exactly right. Darts lined up nicely and overall fit was good. The only adjustment I still have to make is that the back needs a bit of trimming down. So, if you have anyone trying to outfit 32 inch Rapunzel, they might try this approach.
That’s cool information! Glad it’s working out for you. Maybe it’ll help someone else, too.
I wanted a 32″ Rapunzel, but my 28″ Barbies just barely fit into a handy storage space, and a larger girl wouldn’t fit. So sad since she’s so pretty and there seems to be nothing out there for her. I wonder if you could try enlarging the peasant pattern the same way?
Hi Janel, thank you so much for the free patterns for the 28″ Barbie doll. They are so hard to find. I have made a few dresses for my granddaughter’s doll which she loved. I thought you might like to have a look at them. Thank you once again.
Marisa,
Perth Australia
Marisa, I have a request. I’ve just shredded my site to fix an error that occurred and I lost several things, among them your attachments. Could you possibly re-upload them? They were so pretty, I want to share them with the world!
Wait, I actually found them! They got scooped up in my uploads folder. Yayy! I think the easiest way to re-share them is to add them at the bottom of the pattern page so I’m going to do that. Thank you again!
I love your pattern for 28″ Barbie. However, being new to making doll clothes, I am at a loss as to how to put the pattern together to make the skirt for the strapless dress.
I just added a photo above to show how the pages go together. Hope that helps.
Thank you, that really helped.
Thank you so much for this. I have a few basic strapless dress patterns from the 60s and 70s, but none for the modern Barbies. I love your variations. They are a great addition to my craft file.
Hi Janel thank you for sharing your patterns. I’m really interested in the 28 inch Barbie clothes. Love your ideas and designs. X
Thanks, very kind of you!
Oi Janel ! Parabéns por sua criatividade e talento com roupinhas para boneca Barbie, principalmente com este lindo modelo de vestido 👏
Amei o vestido simples mas muito lindo é possível você colocar os seus trabalhos no YouTube?
Moro no Brasil. Ficaria muito grata , se fosse possível receber as instruções e os moldes no YouTube. Parabéns mais uma vez 👏
Beijos do Brasil. 😘
Thank you for the compliment! So you are asking for a tutorial video, and I have thought of doing that. My life is a bit complex at the moment but possibly next year I would have a time and place that I could film one of these going together. It's a good idea and I'm keeping that in mind.
Thankyou for your patterns. Bought my granddaughter, who is 6 1/2years old a best fashion friend Barbie as a Christmas present a week ago. With your patterns I already have 6 outfits sewed for her.
I’m so happy to hear that! Thanks for letting me know, it makes my day! Can you share any pictures?
Thank you so much for doing the work to make these patterns! My granddaughter will love her new doll clothes.
Wow, those look amazing! Thanks for sharing!
Wow, I love those fabrics. I haven’t sewn in years, but I am so grateful Janel posted the pattern for us to use. I am an adult collector so I will lookout for some drapey fabric and ask someone to sew for me.
Lindo, não tenho experiencia mas vou tentar fazer. Obrigado.
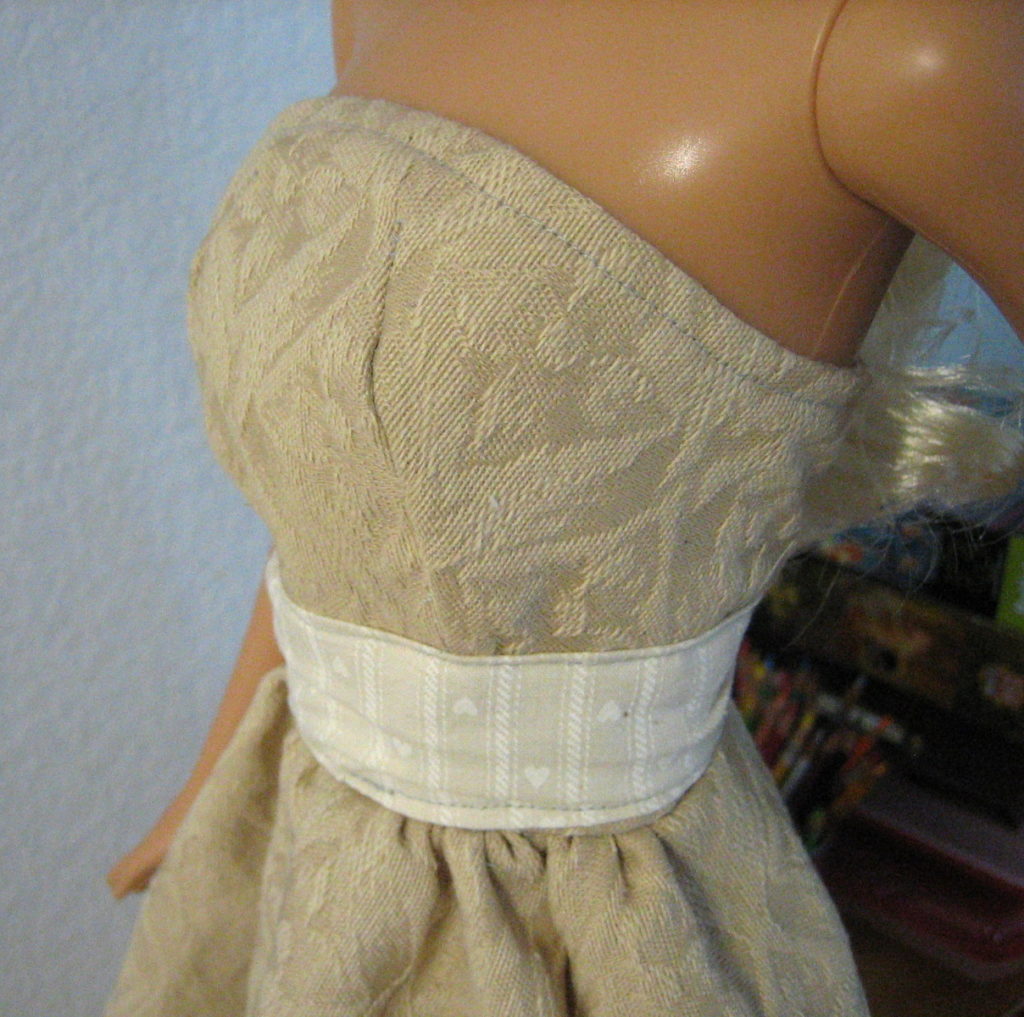
Many thanks for the patterns. Clothes for this size doll are just not available. I am one of the grannies that does not have the doll with me so the dresses are unfinished at the back for now . The white one is made from an old skirt .
Oh my what adorable patterns you make!! 😎 I got so inspired by your blog!! Thank you for sharing <3
I LOVE this pattern and tutorial! I made 5 dresses for my granddaughter’s doll in one day and she is in love with them. I let her pick the fabrics and they all turned out amazingly beautiful!!
Wow, so cool! Thanks for sharing!
How much material should I buy for the 28 inch Barbie dress?
Just a wild guess going by the measurements of the pattern piece. I’d say a yard and a quarter should be more than enough.
Hello
I just found this doll in my collection of Barbies. I will clean her up and make the dress that you have so sweetly made and shared the pattern. She does nor have shoes, do you know where I can find shoes for her? Thank you so much for the perfect Pattern.
Love and Care Linda Greene.
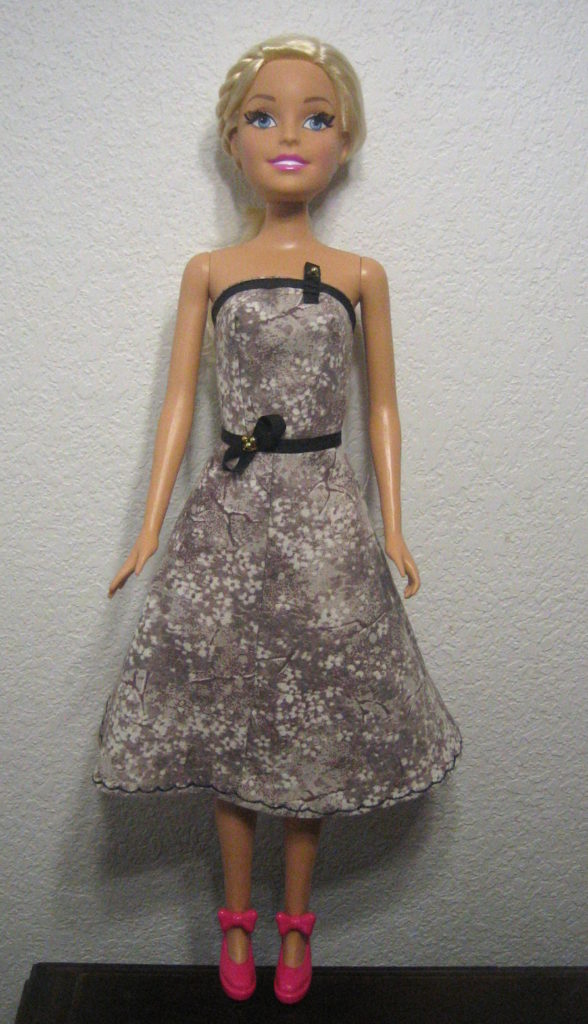
Thank you!! Thank you for your awesome patterns. My niece squealed when she saw her 28 inch Barbie in new dresses. Here are my pictures.