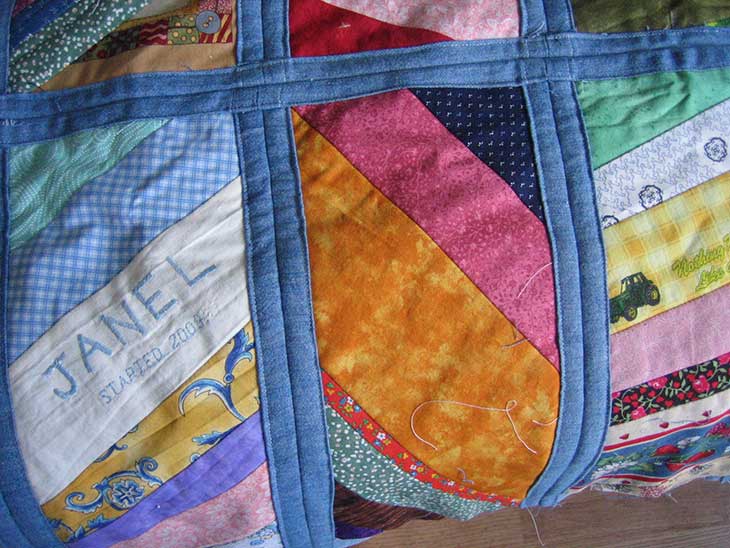
Quilt As You Go Potholders
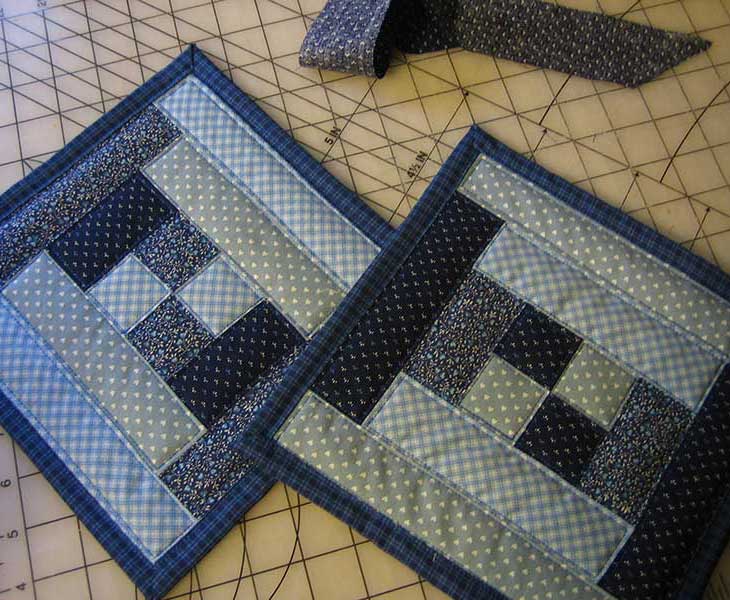
Easy and quick homemade scrapwork potholders make great DIY gifts! You don’t need a pattern and they’re FREE to make out of fabric scraps. Most of the instructions I found for quilted potholders use bias binding, like commercial potholders. But…