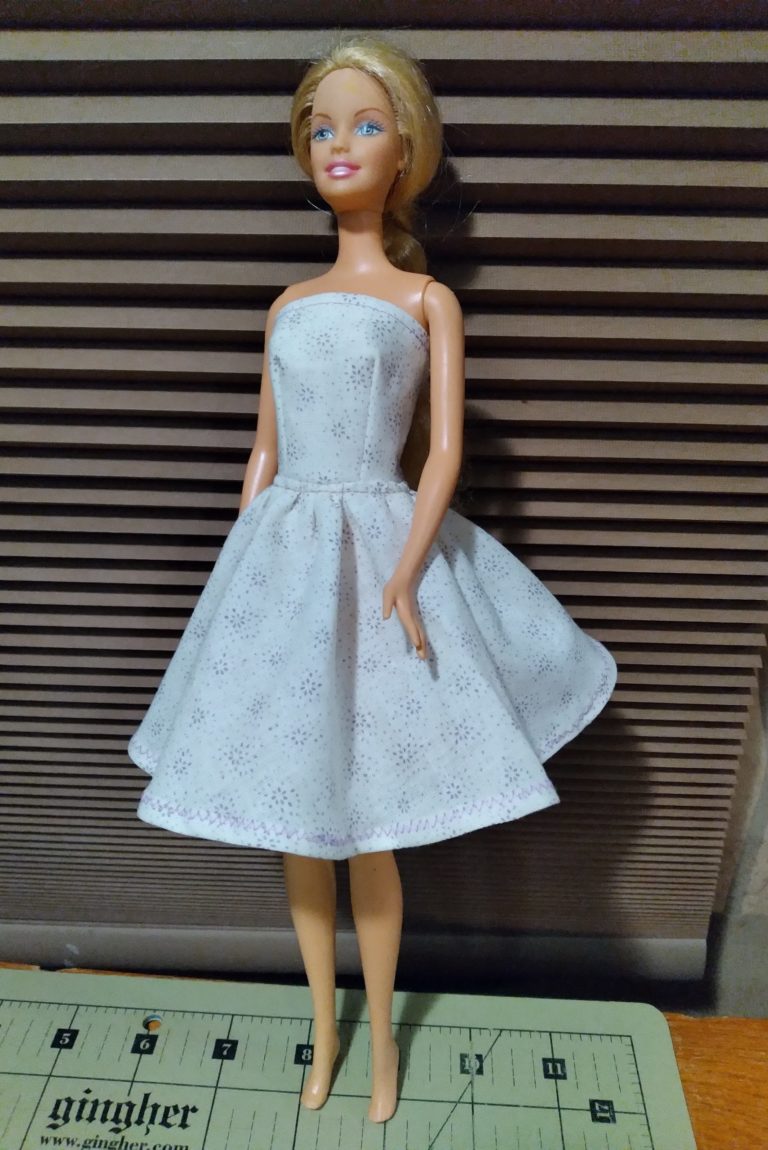
Sewing Pattern for Barbie Basics (ModelMuse) body – Halter Top Dress
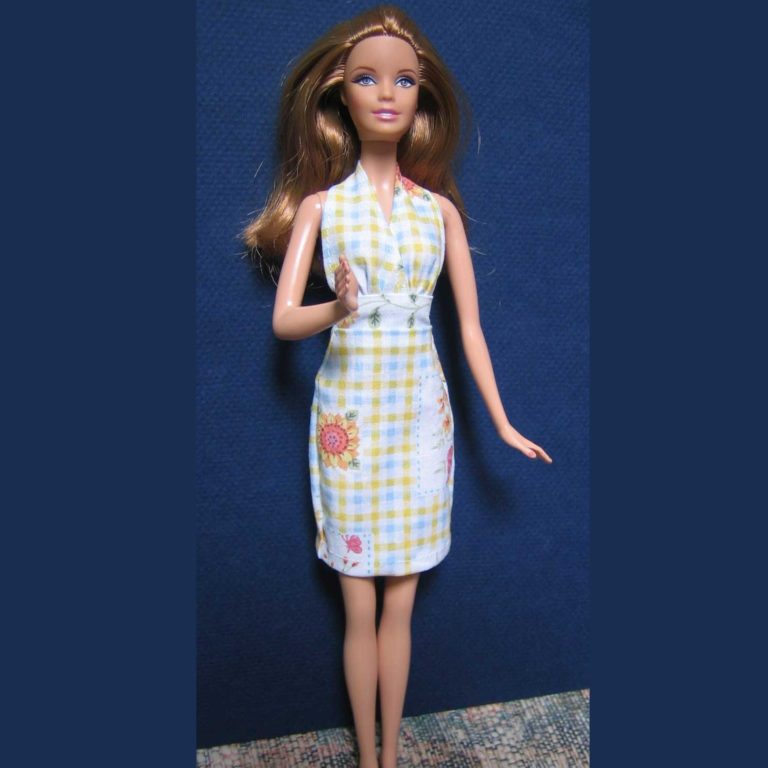
Free printable sewing pattern for a cute halter top dress. Instructions: Fold over sides of both top pieces and topstitchLay one top piece over the other to the place where the arrow points, pin them together then gather the lower…