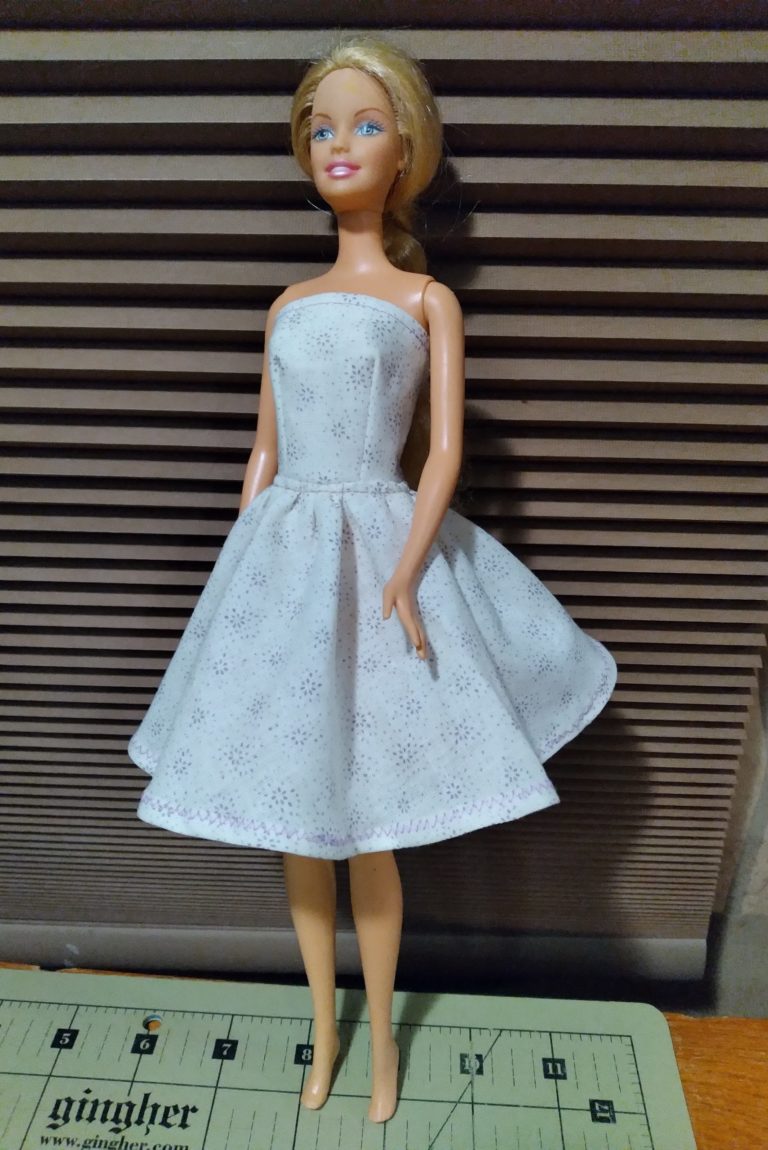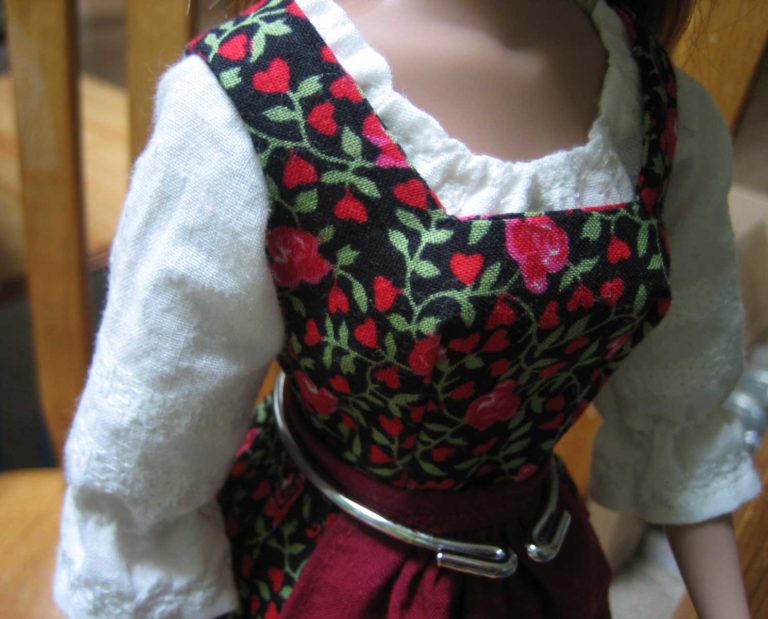
Bellybutton Barbie V-neck Dress Sewing Pattern
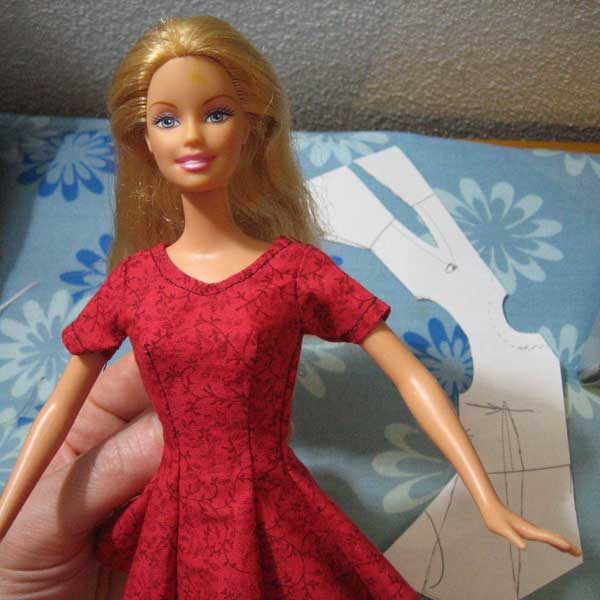
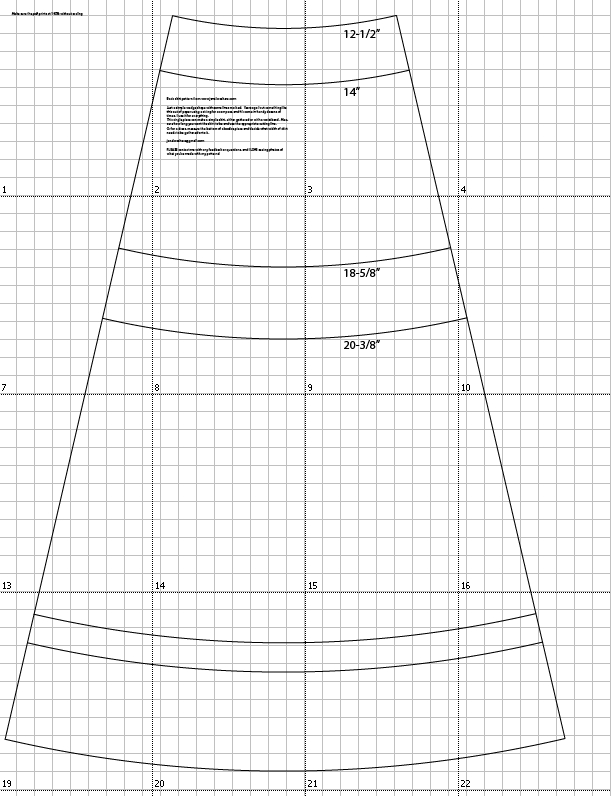
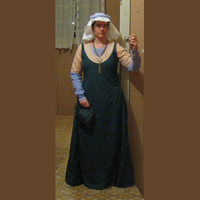
Here’s a free pattern in pdf format to print. This one can be a bodice to add a skirt to, or lengthen the lines to make a flattering princess seams dress. I appreciate a pattern that doesn’t involve shoulder seams.…