A great idea, and I looked around the internet for instructions, but nothing really clicked and gave me a clear sense that I was ready to get started. I had to mull it over for a couple days.
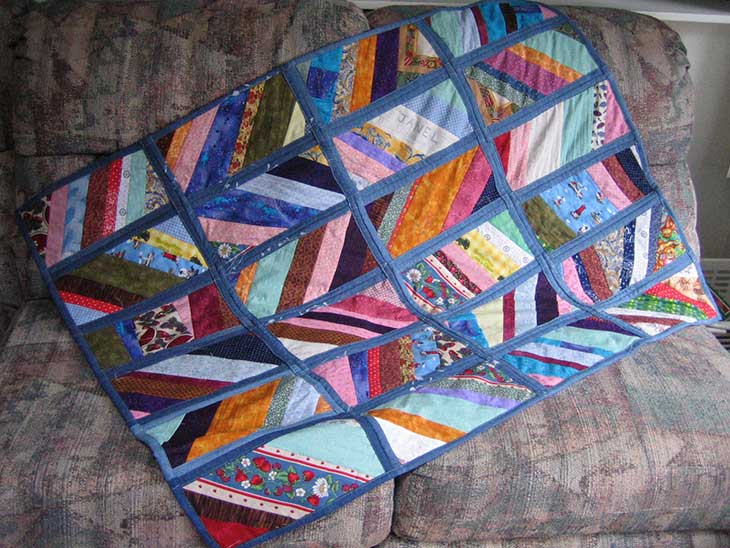
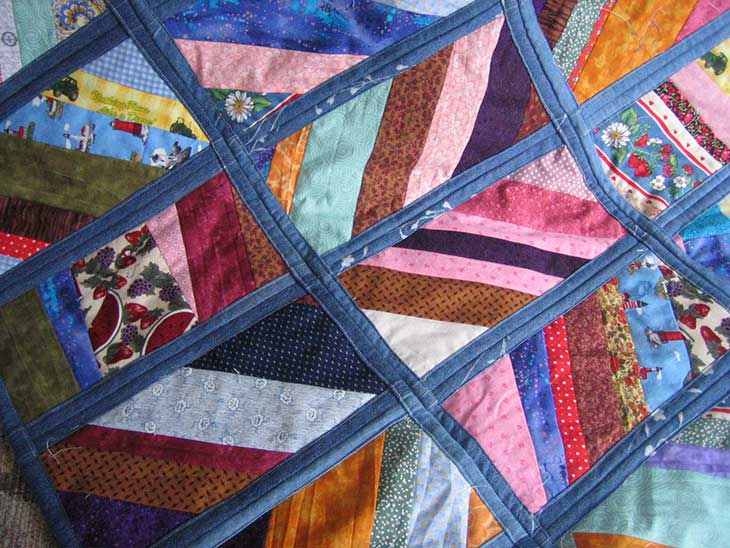
When patchwork quilting was first explained to me as a child, I thought it was a really dumb idea. Why cut up perfectly good fabric only to sew it back in a different arrangement? Well, that may be what they do now, but isn’t how the technique started. It was born of necessity. Pioneer women didn’t buy new fabric for quilting, they used leftovers and scraps and old clothing cut and put together in a creative way. That suits me just fine. I don’t like to throw out anything if it could possibly be cut up and made into something else, so when I found out about STRING quilting it was lerve. That’s my thing. Really, I had already done it.
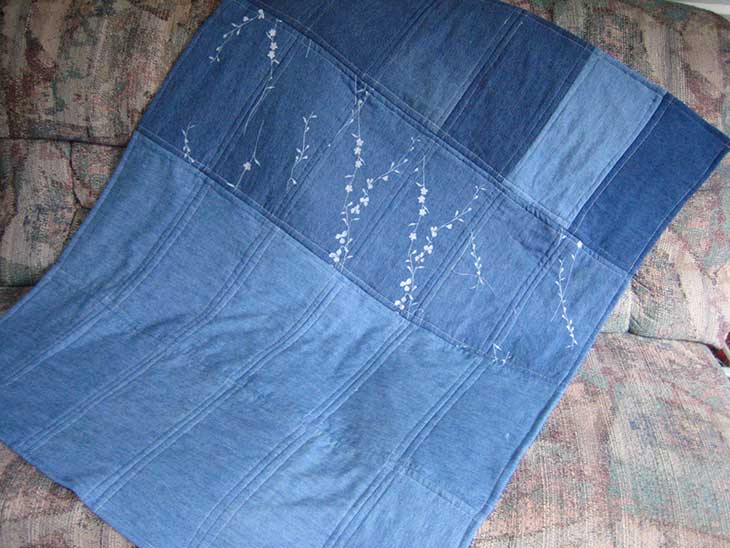
Know what I’d really like to do? Make a quilt out of EVERYTHING old and nothing new. So here we are. Lightweight denim from old skirts for the backing and the knit from old t-shirts for the batting. Sewing pieces of knit together didn’t sound easy, as thin knit is too stretchy and unruly to easily assemble into flat pieces. I fell asleep contemplating how that could be done, and three elements came together: string blocks, knits for the batting, and quilt-as-you-go.
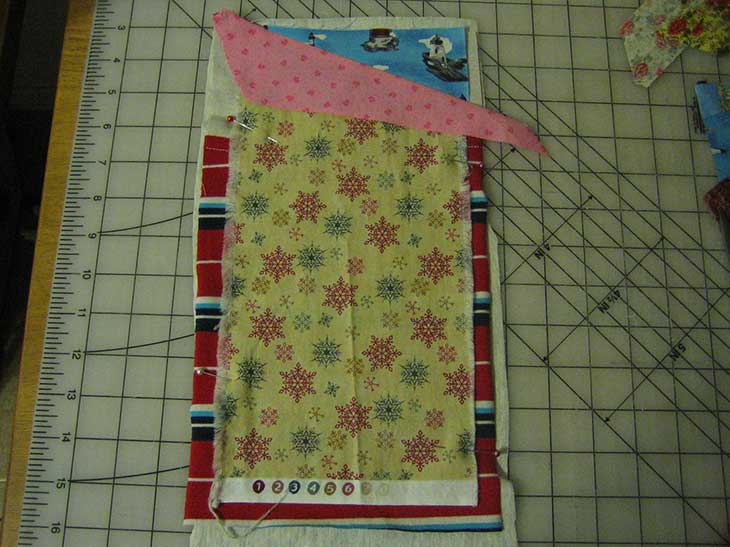
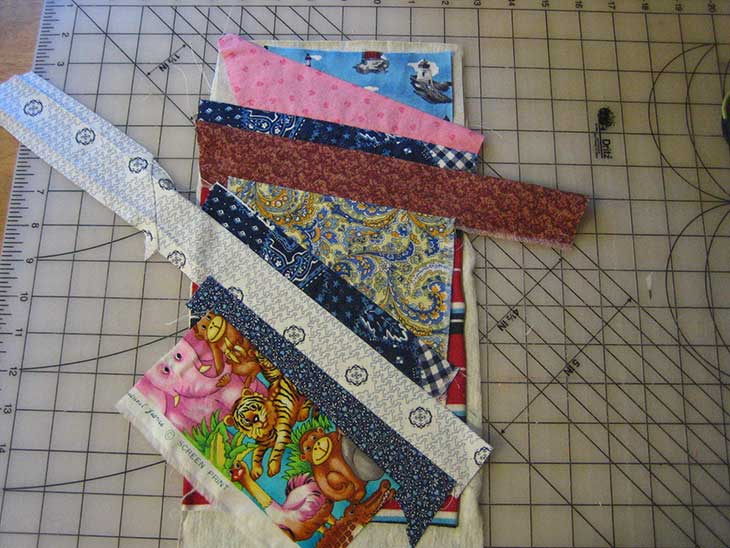
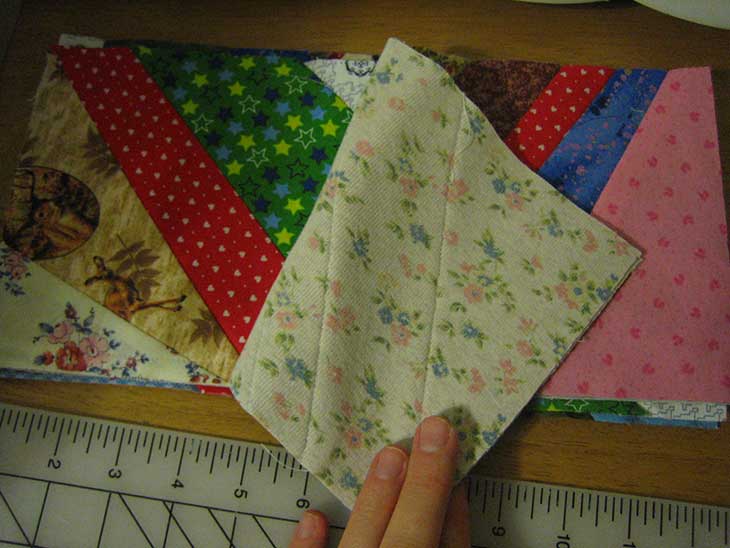
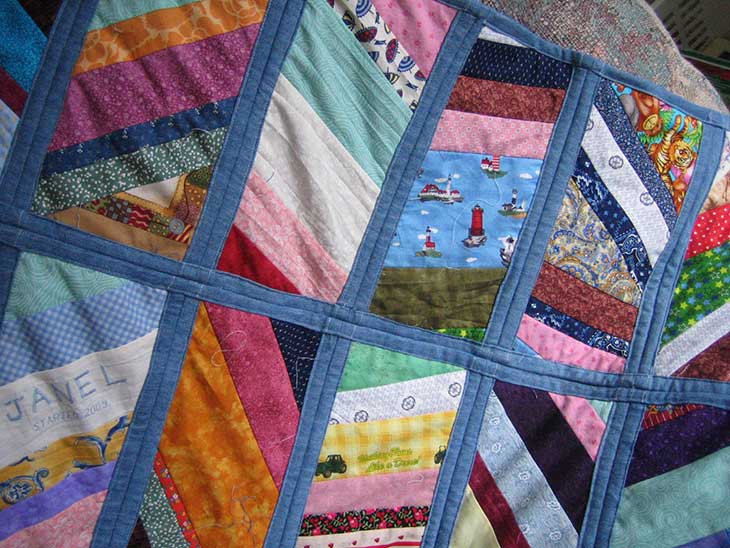
A piece of otherwise useless light fabric cut to the desired size as a template, over two layers of knit cut a little larger (because you know the stuff’s going to scoot) and string quilting goes over all the layers.
The quilting tames those sections of knit and holds them in place. Then gets trimmed.
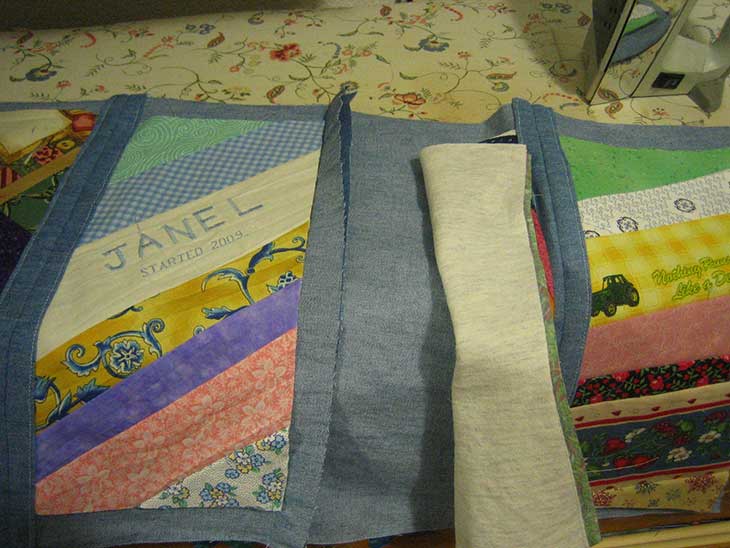
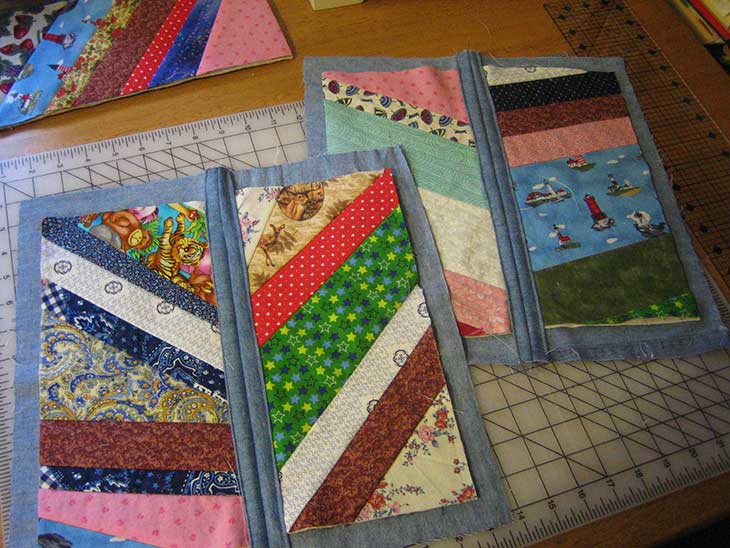

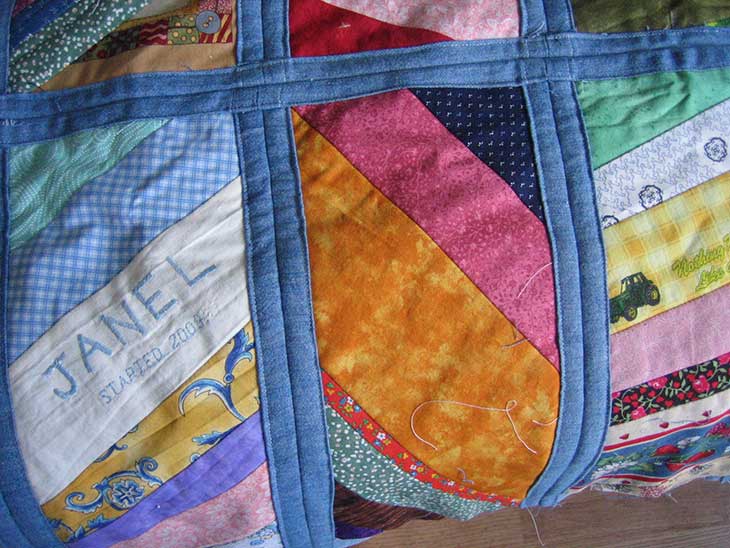
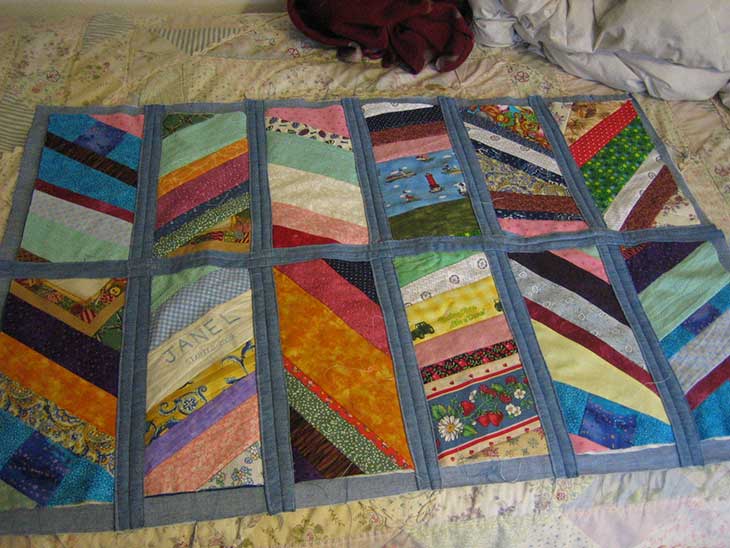
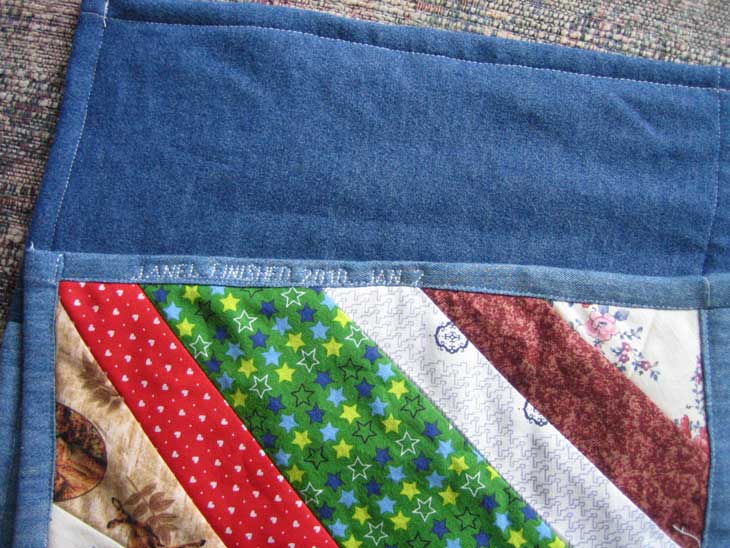
The denim backing cut an inch larger on all sides, sewn together an inch away from the edge, then overlapped just like binding over the squares.
Yes, I see the stain. That’s cool, that way the kids won’t be afraid to wrap up in this quilt on the floor. I’m NOT making masterpieces here, just blankies.
With two layers of knit, two of fabric and one of denim, it’s wonderfully soft and thick and warm!
I ended up having to trim a tiny bit off of most of the squares to make them fit inside the backing. Next time I’m going to make the quilted pieces 7″ square and the backing 9.25″ squares.